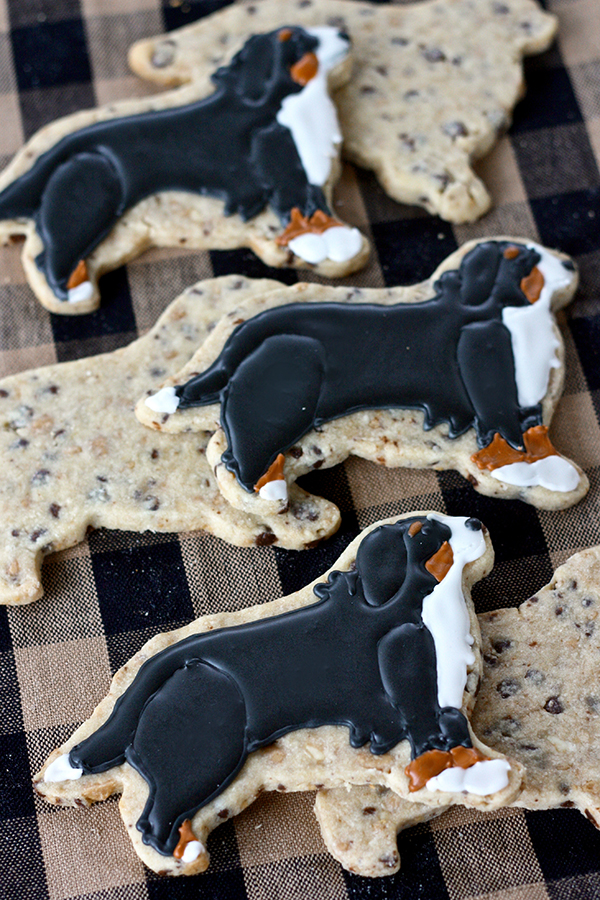
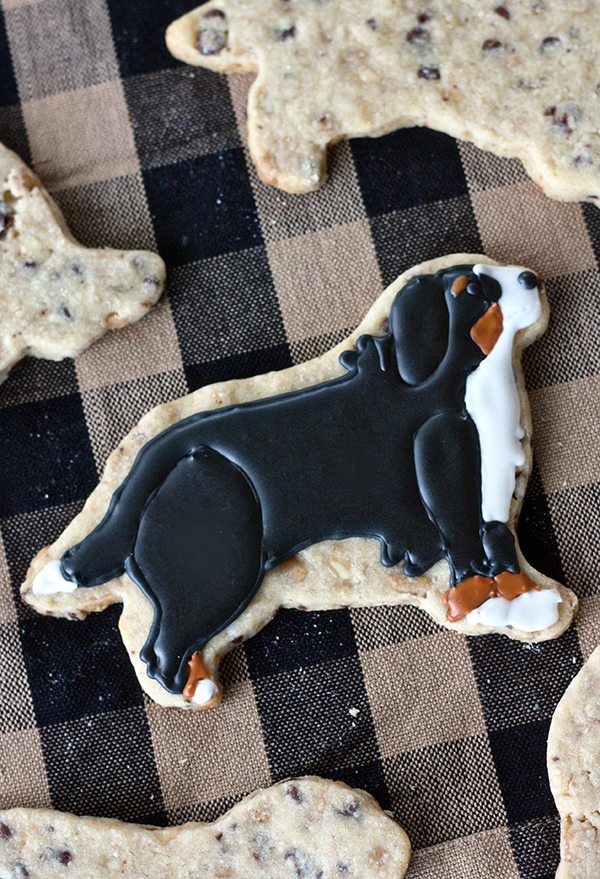
It was only a matter of time, right?? I have made plenty of shapes out of sugar cookies and royal icing, so it comes as no surprise that I would try my best to make edible little Piper cookies. Piper is my 8 month old Bernese Mountain Dog if you’re unaware (which really means you should be following me on Instagram!!), and I could just SQUEAL I’m so proud of these cookies. I still know I’m no Sweet Sugar Belle, but this is the first time I really pushed myself to do a design that was more complicated than an Easter egg that I’m brave enough to share here. Of course I only ended up decorating 3 of them because I was scared they’d all turn out as disasters and I would just throw them out, but I’m so happy with them that I’ve made up my mind they’re too pretty to eat!
A lot of people ask Ryan and I why we chose the Bernese Mountain Dog breed. I had a golden retriever growing up, and we both knew we wanted a big (but not too big) dog that was friendly, easy-going, and a bit on the lazy side. I’ve always admired how beautiful Bernese Mountain Dogs are, but was intimidated by their size. Once I learned that the females are considerably smaller (we’re thinking Piper will end up being less than 90 pounds), and we started looking more and more seriously into the breed, we were hooked. If we had stuck with golden retrievers these cookies would have been a heck of a lot easier to decorate, but the tricolor coloration is probably my favorite feature of the breed. And the cookies miraculously ended up being ALMOST as cute as my pretty little lady!!
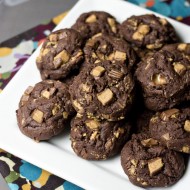
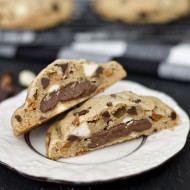
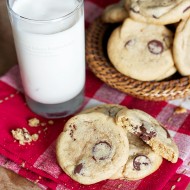
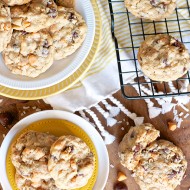
I took the tricolor obsession a bit further with these and made tricolor chocolate chip cut-out cookies. Just in case I couldn’t figure out the royal icing decorating component, they would have still been Bernese Mountain Dog-esque. I used mini semisweet chocolate chips and chopped up peanut butter chips and white chocolate chips to give the cookies all the colors of this lovely breed. Not only did they look really cute – the combination of chips made them extra delicious too! If you don’t need tricolor cookies for any reason, just use all mini chocolate chips and this yields a great cut-out cookie for any decoration or theme. And if you want a cut-out cookie that’s safe for your pup to eat – try this homemade dog treat recipe!
"Tricolor" Chocolate Chip Cut Out Cookies
Ingredients:
for the cookies:
1 cup unsalted butter, at room temperature
1/3 cup granulated sugar
1/2 cup light brown sugar
1 large egg yolk
2 tsp vanilla extract
2-1/4 cups all purpose flour
1/2 tsp salt
1/2 cup semi-sweet mini-chocolate chips
1/2 cup peanut butter chips, chopped up to small bits*
1/2 cup white chocolate chips, chopped up to small bits*
for the royal icing:
4 cups powdered sugar
5 tbsp meringue powder
1/3 cup water (plus more for adjusting consistency)
Few drops vanilla extract
*If you don't want the tricolor look - just use all mini chocolate chips instead of the peanut butter and white ones too!
Directions:
for the cookies:
In the bowl of an electric mixer, beat together the butter and sugars for 2-3 minutes, until light and fluffy. Add the egg yolk and vanilla and beat well for another few minutes. In a medium bowl, whisk together the flour and salt and then with the mixer on low, slowly add the dry ingredients in until just combined. Add the chocolate, peanut butter, and white chocolate chips and mix by hand with a rubber spatula. Wrap the dough in plastic wrap and chill the dough for 30 minutes to an hour.
Preheat the oven to 350 degrees. Roll out the cookies on a lightly floured surface and cut with desired cookie cutters. I used these this one. Bake for 10-12 minutes, just before the edges start to turn golden brown. Let the cookies cool on the pan for 5 minutes, then transfer to wire rack to cool completely.
for the royal icing:
Combine the sugar, meringue powder, water, and vanilla in the bowl of an electric mixer and beat until smooth (about 2 minutes). If icing is too thick, add more water in 1 tsp increments. If too thin, slowly add more powdered sugar. For the outlining, you want the icing to be fluid but still hold a firm peak. For the flooding, add enough water so that a peak will sink back into the bowl and smooth out within 10 seconds.
I dyed most of the icing black, while leaving just a bit white and then combining brown and orange to make an even tinier bit of rusty brown icing. To make my Bernese Mountain Dogs, I started by outlining the black parts first with thicker icing, then filling them in with flooding-consistency icing. Then I did the white, followed by the brown, in the same order. I made sure to leave some time between flooding adjacent sections to make sure the different sections remained distinct from each other. I added the black nose and brown specks above the eyes when everything was dry. Let the royal icing dry overnight before storing them in an airtight container.
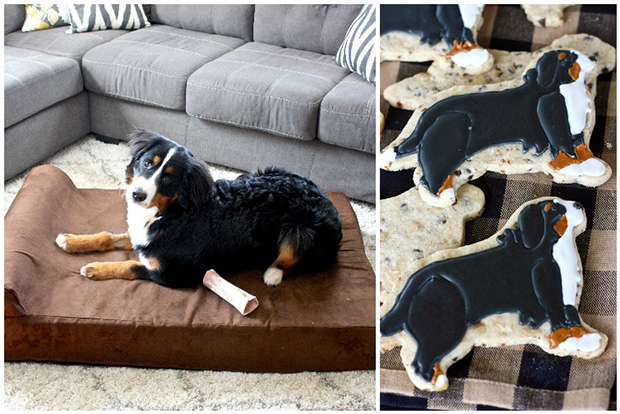
I just wanted to take some time to plug one of the best products we’ve bought for our not so little puppy. With big breeds it’s often hard to find stuff that will stand up to their growing parts and strength, so I was thrilled to discover Big Barker Beds. Piper loves her bed, and it’s specifically formulated to hold up to big dogs like her. Soon she’ll fill out that whole bed, and we know she’ll be well supported all the way through until she’s fully grown. Look how pretty she looks atop her fancy orthopedic bed! And yes, these beds are definitely pricey, but we’ve read a lot of reviews that they last a really long time and don’t flatten. Check them out if you’re in the market for a big dog bed!





OMG this is my dream cookie!! My favorite dog & my favorite cookie! I will be making these soon. :)
We had the same concerns re: size when we decided on getting a Berner puppy, so we got a female too. Maddie is 75 lbs, down from 90 a few years ago. She is now 8 years old! I LOVE how your Berner cookies turned out! Definitely too beautiful to eat!