If you live on this planet, then you’ve probably heard of the movie Frozen. If you have a child, then you probably know every word to the entire movie and Anna, Elsa, and Olaf are household names. Working in pediatric dentistry every day, I’m somewhere in between. All of our patients go crazy when “Let it Go” comes on our Pandora stations, and we’ve recently acquired the movie to play for the lucky patients who get treatment in our TV room. It’s no secret that I’m a big fan of all things Disney (Mickey Cupcakes and Princess Cupcakes, for example) so it was really only a matter of time before I did some sort of Frozen treat here on the blog. When I saw that Annie of With Sprinkles on Top reworked my princess cupcakes for the characters of Frozen, I knew I wanted to borrow the idea and feature them here as well. Gotta love when someone takes your own idea and makes it even better!
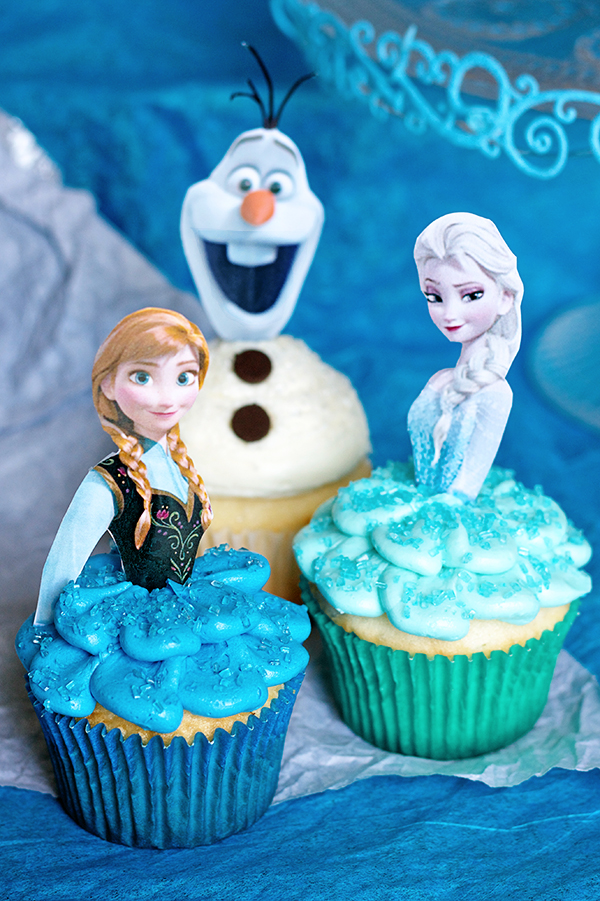
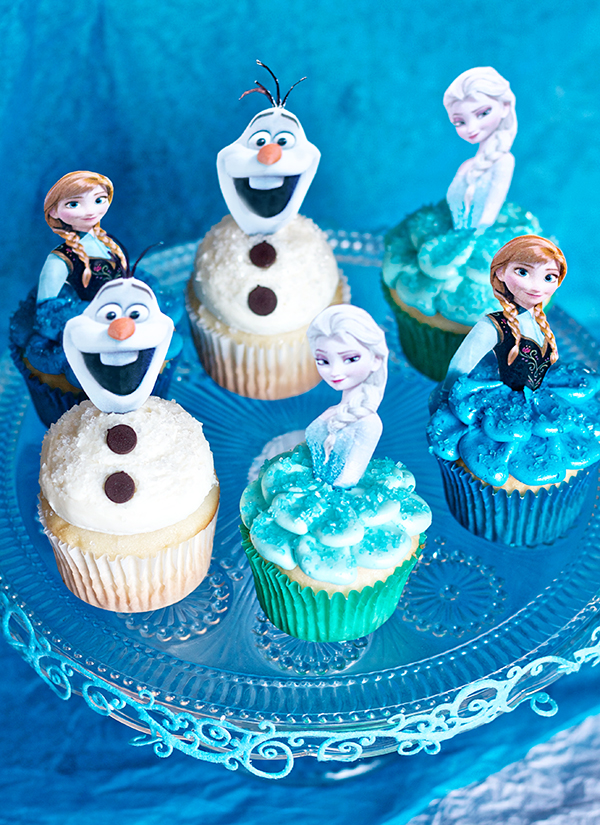
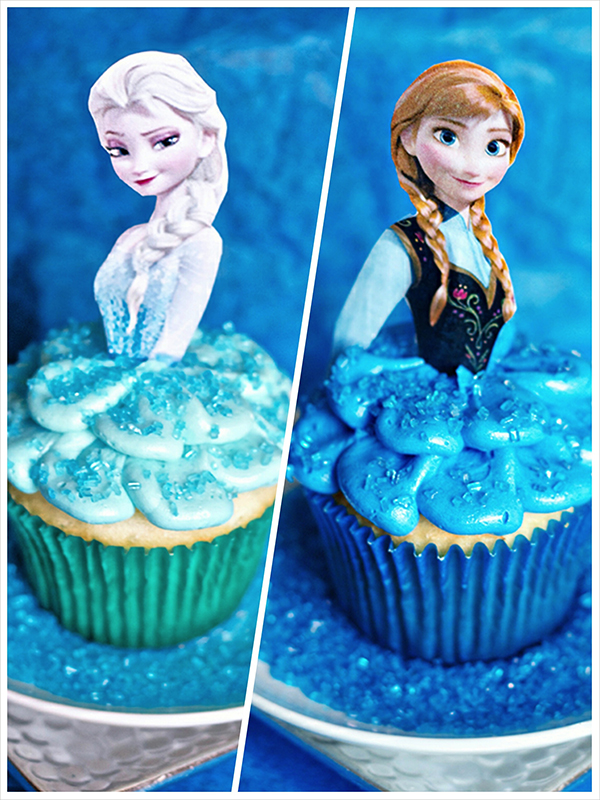
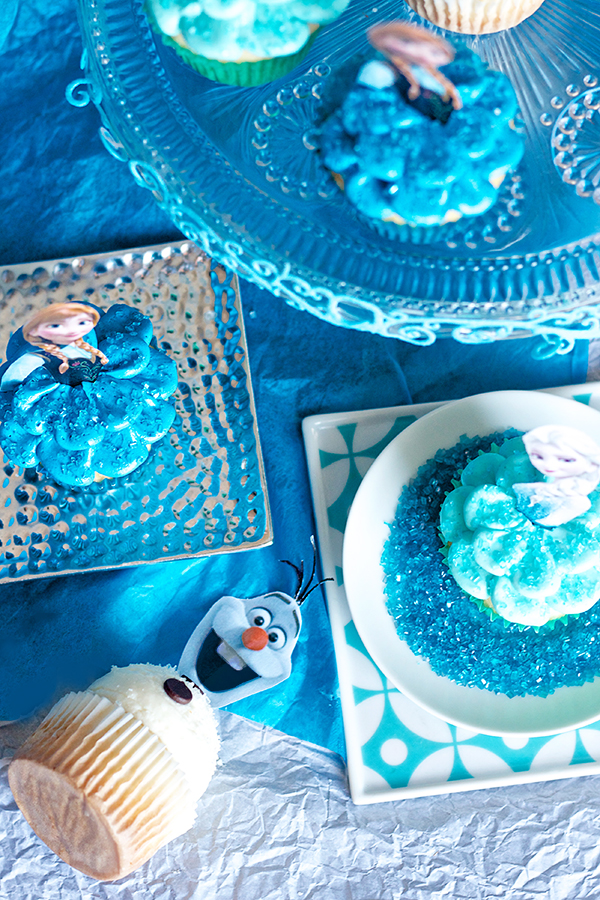
I always look back fondly on the princess cupcakes I made last year, so I was really excited to update them with the newest princesses on the block. Anna and Elsa are great role models for kids these days, and you have to love the theme of a movie focusing on the importance of family. And chocolate (“I wanna stuff some chocolate in my faceeeee!”). But I kept it simple with vanilla here, and made the cupcakes from a box topped with a simple homemade vanilla buttercream that I kept white for Olaf, dyed royal blue for Anna and aqua for Elsa. Remember my pretty mixer paddle that I instagrammed awhile back? That was for these cupcakes with their pretty blue colors! The dresses are piped on with a large petal tip (the Wilton #127 to be precise) and their bodies are simply clip-art images printed and taped to toothpicks. Olaf’s body is formed with a large round tip and chocolate chip buttons. Everyone got a heavy dose of color-coordinated sanding sugar that makes them extra sparkly as ice princesses (and their snowman friends) should be.
Cutting out all of the shapes can be a bit time consuming, especially Olaf’s three strands of hair, but put on a good movie (maybe something other than Frozen for once) and soon enough you’ll have mindlessly completed the task. I found the pictures with a Google image search and sized them best for a standard cupcake. If you want to use the same images I did, get them here and print them on your own. Toothpicks or lollipop sticks work great to help attach the pictures, but don’t stick them in too far in advance or the buttery icing can make the images greasy. Since people are paying hundreds of dollars on eBay for Elsa and Anna dresses for their kids, I can only imagine the happiness that would result from giving these cupcakes to a Frozen-obsessed child. I mean, sharing these with my co-resident was exciting enough (we are all kids at heart after all), but I’d expect even more shrieks and smiles if these were presented to a crowd of youngins’.
If I had to choose my favorite Frozen princess, it would probably be Anna. She’s funny, pretty, has a lot of spunk and just enough self-deprecating humor to make her easy to love. They’re both great and I love seeing my patients get so excited about characters and a movie that I can appreciate too. There’s a reason Frozen is the fifth highest grossing movie ever, so if you’ve caught the Frozen-bug too you’re definitely going to have to make these cupcakes!
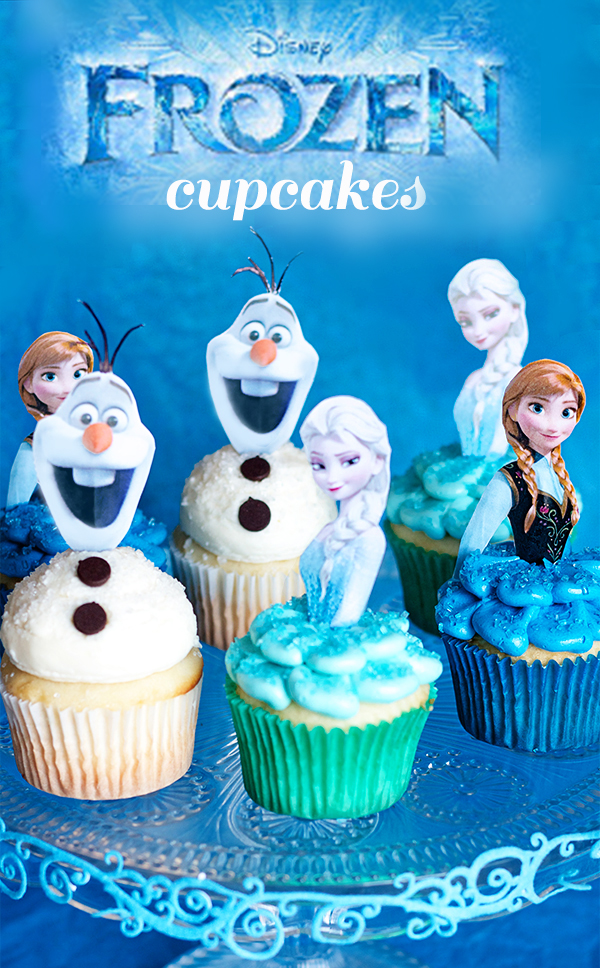
Disney's Frozen Cupcakes
Ingredients:
24 cupcakes (flavor of your preference, I used vanilla)
1 batch vanilla buttercream (or any frosting you love)
Large petal tip (I used Wilton #127) + piping bag
Blue and aqua food coloring
Princess + Olaf pictures (get them here )
Lollipop sticks
Blue, aqua, and white sanding sugar
Directions:
Bake the cupcakes according to the recipe's instructions and prepare the buttercream as well. I chose to bake the cupcakes in liners that were color coordinated with the princesses' dresses, so feel free to do that too! After you've made the frosting, divide the buttercream in thirds and keep one white, dye one aqua, and one royal blue.
To make the toppers, print out pictures of the heads and body of the princesses of your choice on thick paper. Cut them out and attach a lollipop stick to each one with clear tape.
To decorate the cupcakes, fit a decorating bag with the large petal tip and load the buttercream in. First pipe large "petals" around the top of each cupcake that go all the way to the edge. I found this tutorial very helpful for learning how to pipe petals like this. Then, for the second layer, make them slightly smaller so they don't extend quite as much. Sprinkle with sanding sugar and stick in the topper before serving!
Also, don’t forget to check the Sweet Tooth Facebook page later today to see the winner of the Whole Foods gift cards! Ohhhh, silly Olaf…




I LOVE these! They look perfect :)
Are you in California?
Erica — September 27th, 2015 @ 4:51 pm
No I am in Connecticut